How to Roll Back NVIDIA Drivers on Windows 11
Do you have system instability after a recent NVIDIA GPU driver update? You’ll need to roll back your NVIDIA drivers on Windows 11 using this guide.
If you’re a gamer or graphics designer, you’ll already know the importance of keeping your graphics card (GPU) up to date. However, you might need to roll back NVIDIA drivers if you have an NVIDIA card.
New drivers usually mean better performance and improved stability, but not always. For example, a bad driver update could cause high GPU usage on a Windows 11 system.
In a situation where a new driver causes problems, you can roll it back to its previous version when your system is working correctly. Here’s how to do it.
How to Roll Back NVIDIA Drivers on Windows 11
When you update your NVIDIA GPU and experience instability or crashes, you’ll need to roll the driver back to the previous version. Rolling back a driver using Windows doesn’t require downloading any app.
While NVIDIA’s GeForce experience makes it easy to update drivers, it can’t roll them back. Instead, you can roll it back using Windows’ built-in Device Manager utility.
To roll back an NVIDIA GPU driver on Windows 11:
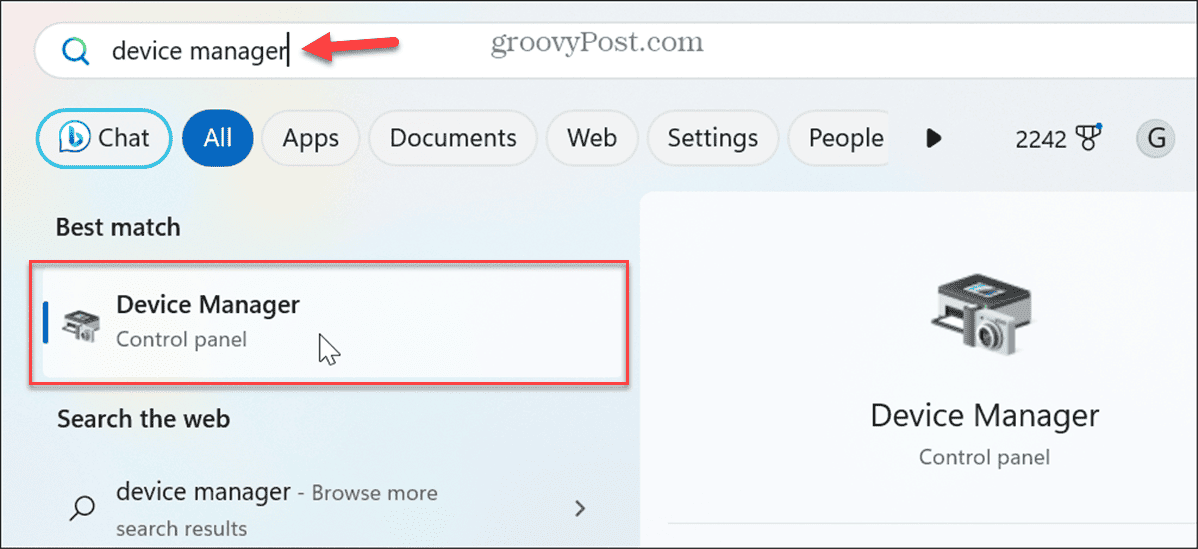
- To start, open Device Manager.

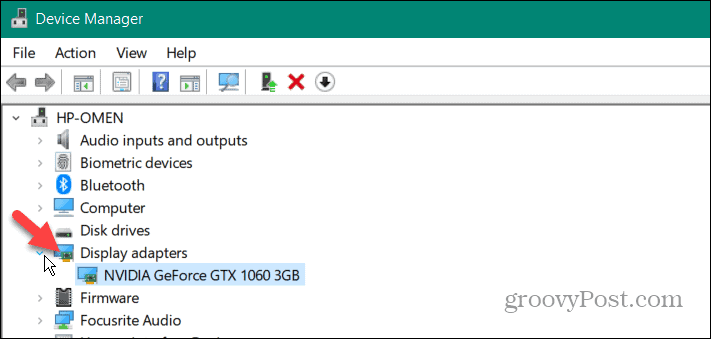
- Once Device Manager opens, expand the Display Adapters menu.

- Right-click your NVIDIA GPU and select Properties from the menu.

- Select the Driver tab at the top and click the Roll Back Driver button.
Note: If the button is grayed out, the system doesn’t have a previous driver version (see DDU option below).
- Choose a reason why you are rolling back and select Yes at the prompt. Then, wait for the rollback to complete.


It’s important to note that while the process occurs, your screen may briefly turn black once or twice. Wait while it completes; your driver date and version will change to the previous one installed.
Use Device Driver Uninstaller
If the roll back option shown above doesn’t work or the button is grayed out, you can use the Display Driver Uninstaller (DDU) utility instead. DDU will completely uninstall the current driver without leaving any registry keys, files, or folders. After that, you can manually install the driver that works from NVIDIA’s site.
Note: This third-party app is free, offered “as is,” and makes deep system changes. However, it’s been trusted for years and does an excellent job of removing drivers entirely. Still, create a Restore Point and have a recent system backup of Windows 11 first if something wrong happens so you can recover your system.
To use DDU to remove a NVIDIA graphics driver:
- Launch a browser and download DDU.
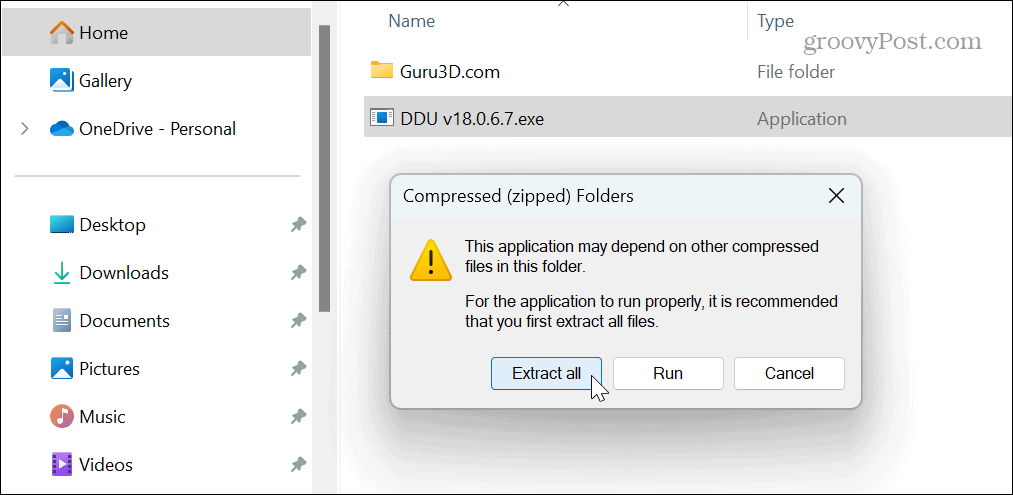
- Once downloaded, open the Zip folder you downloaded.

- Double-click the DDU executable file and select Extract all from the menu that appears.

- Choose a destination folder and click Extract.
- Next, boot Windows 11 in Safe Mode and run the application. The easiest way to do it is to open the Start menu, hold the Shift key, and click the Power button.

- Close the Options menu that appears since the default settings are fine.
- Choose GPU and NVIDIA from the device type dropdown menus on the right.

- Click the Clean and restart button on the left.

- The tool will thoroughly delete the current NVIDIA driver and restart your PC automatically.
- Once complete, open a browser and head to the NVIDIA drivers site to download and install the driver version you need.


Note that you should only use DDU if you have a problem uninstalling or reinstalling a driver using Device Manager. It isn’t meant to be used each time you update the driver.
Also, if you use NVIDIA’s GeForce Experience to update the driver, it has the option to perform a clean installation of the driver anyway.
Rolling Back NVIDIA Drivers on Windows 11
While ensuring your NVIDIA GPU drivers are current and up to date, sometimes the update conflicts with your system and causes unwanted changes. Luckily, you can easily roll back the drivers using the above steps.
You’ll want to be sure other hardware on your system works correctly. For example, you may need to fix audio problems, like when Windows 11 has no sound or when it’s not detecting headphones.
If you need to troubleshoot your PC’s other components, learn to find hardware and system specs on Windows 11. And if you aren’t on 11 yet, you can find hardware and system specs on Windows 10.